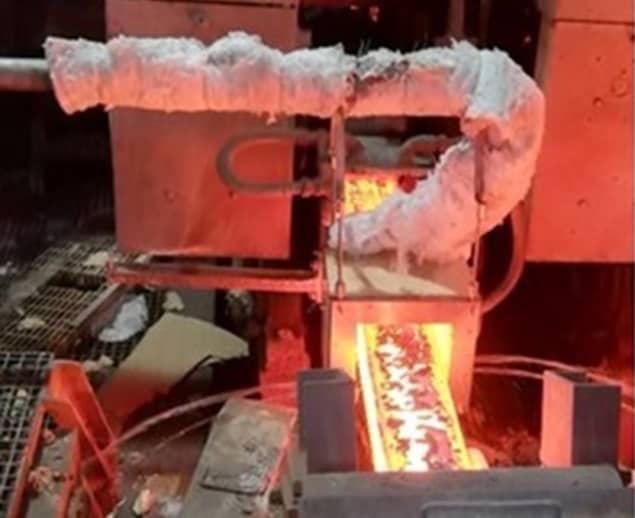
A collaboration between industry and academia has created the very first in situ tool to assess the internal cross-section of steel produced in a factory’s continuous casting process. The sensor is now ready to be turned into a commercially viable product that helps steel companies identify the solidification process in real time, potentially leading to lower energy requirements and faster production speeds.
Continuous casting is the final stage in steel processing, with the speed and quality of the solidification process critically influencing the material’s mechanical properties. The steel produced by casting needs to be fully solidified, but unlike the skewer test used to test whether a cake is “done”, it’s dangerous to remove steel while partially liquid, and it can’t be simply put back in the oven.
With no way to internally capture the steel’s thermal state within the casting chamber, factories may choose to set conservative casting parameters to ensure a fully “baked” product. But this is set to change.
“For the first time, we were able to show the internal temperature profile inside the casting steel in a factory environment,” says lead author Manuchehr Soleimani from the University of Bath. “With a device to monitor different stages of the process, you can optimize the control parameters to produce the quality of steel you need but more efficiently.
Keeping a cool head
Soleimani had been imaging liquid metals using a variety of techniques, including magnetic induction tomography (MIT). A relatively new imaging technique, MIT measures the loops of electric current induced by changing the magnetic field in a conductive material, so producing electrical conductivity maps.
On presenting this imaging work at a conference in Germany in 2015, Soleimani met Stefano Spagnul from the steel industry equipment supplier Ergolines laboratory. This initial brief introduction led to connections with fluid dynamics expert Teresa Gutiérrez, from Technalia Ventures, and what Soleimani describes as the “perfect collaboration”.
The team successfully applied for an EU research fund to back their SHELL-THICK project, which enabled the MIT device to move from the laboratory into industrial testing.
Critical for a move into industry, was finding a way to protect the MIT system’s sensitive array of coils wrapped around a copper wire. Harsh temperatures in the casting chamber had prohibited X-ray and ultrasound imaging, so a core challenge in the project was to integrate a cooling system into the MIT circuit.
Prototypes were tested in the laboratory and finally the MIT system was installed at the end of the secondary cooling chamber in the continuous casting machine of the steel company Ferriere Nord (FENO) in Italy. The installation was a success. The MIT system was able to remain at an optimum temperature for measuring current whilst merely centimetres away from the 1500°C steel billet.
Translating the data
To be truly useful to industry, an image of thermal energy showing the boundaries between the different states of metal – solid, the mush of solid and liquid, and pure liquid – was required.
“MIT can provide electrical property information, and as temperature changes so does the electrical conductivity of a sample. Therefore, if you know the steel grade then you can relate the temperature coefficient to electrical conductivity and translate to internal thermal images,” explains Soleimani.
Gutiérrez’s extensive computational thermal modelling was required to make this translation. But ultimately, the algorithms enabled reconstruction of the internal solidification front, which matched the contours of those from the thermal model. And the map’s sharp distinctions enabled the solid shell thickness to be calculated.

External shape could also be detected alongside the internal profile, giving the system even greater industry utility. And at this stage, the MIT system is said to have reached a much higher technology readiness level. The researchers now hope to secure further funding so that they can cover the final hurdle of producing a system with extra sensors for commercial deployment.
The new imaging technique is described in Measurement Science and Technology.


